One thing American Motorhome Servicing prides itself on is the very comprehensive and well thought out service sheet. Over the last 20 years the servicing checklist has grown as vehicles are getting older.
Sometimes customers only request MOT inspections leaving out servicing due to the low mileage or cost implications. These kinds of requests can cause problems when future servicing is carried out. Especially when the vehicle has not undergone a service for several years.
The common defects usually highlight problems such as a badly deteriorated roof that could be leaking. Body outrigger corrosion or even wheels being seized to the hubs!
Sometimes the faults we find would have been there anyway. However in most cases the rectification work needed to resolve the problem is more complicated and more expensive to repair.
For example wehn servicing we did notice a slide out was very erratic when being extended and retracted. When we took a closer look the slide out rollers, they had sunk into the floor. We informed the owner and he agreed for us to do a more in depth examination of the problem. What transpired was that the motorhome floor had a fibreglass skin on the top of the bonded sandwich construction. With the weight of the slide out box the floor was collapsing and the rollers were getting trapped.
As the problem was very severe the slide out had to be completely removed for us to gain access. Once accomplished, aluminium was bonded to the repaired floor for the rollers to run on when the slide out was replaced. If this problem had been noticed earlier, we could have bonded the aluminium to the floor without having the remove the slide out. The aluminium could have been thinner and the final cost would have been drastically reduced.
I mentioned earlier the word “ROOF” and the importance of servicing?
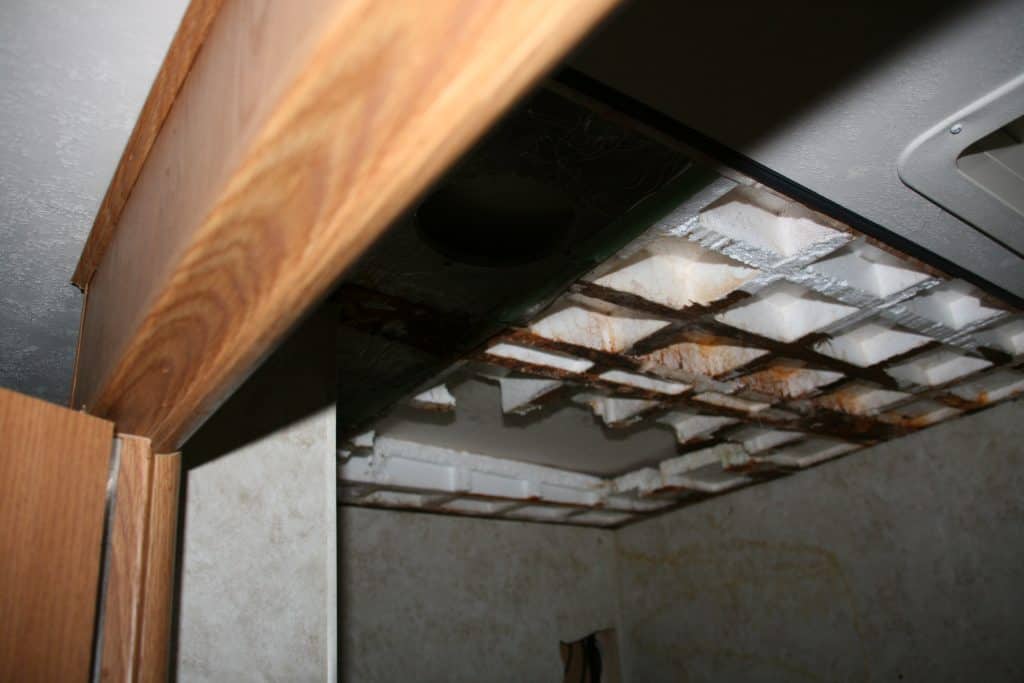
The first roof covering that was used on the American RV motorhome was a rubber membrane or EPDM to give it its proper title (Ethylene Propylene Diene Terpolymer). This membrane can cause problems if it is damaged or the seals are not checked when servicing annually. Undetected seal or tear in the roof can cause problems as you can see below.
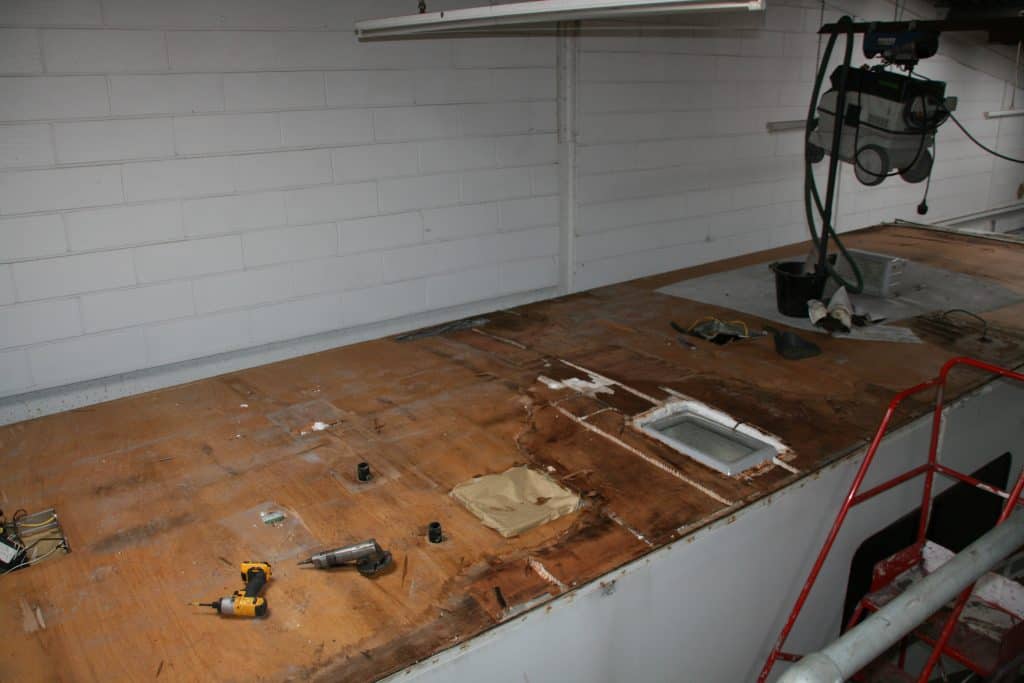
As you can see in this image the rubber membrane has been removed and the water damage can be seen.
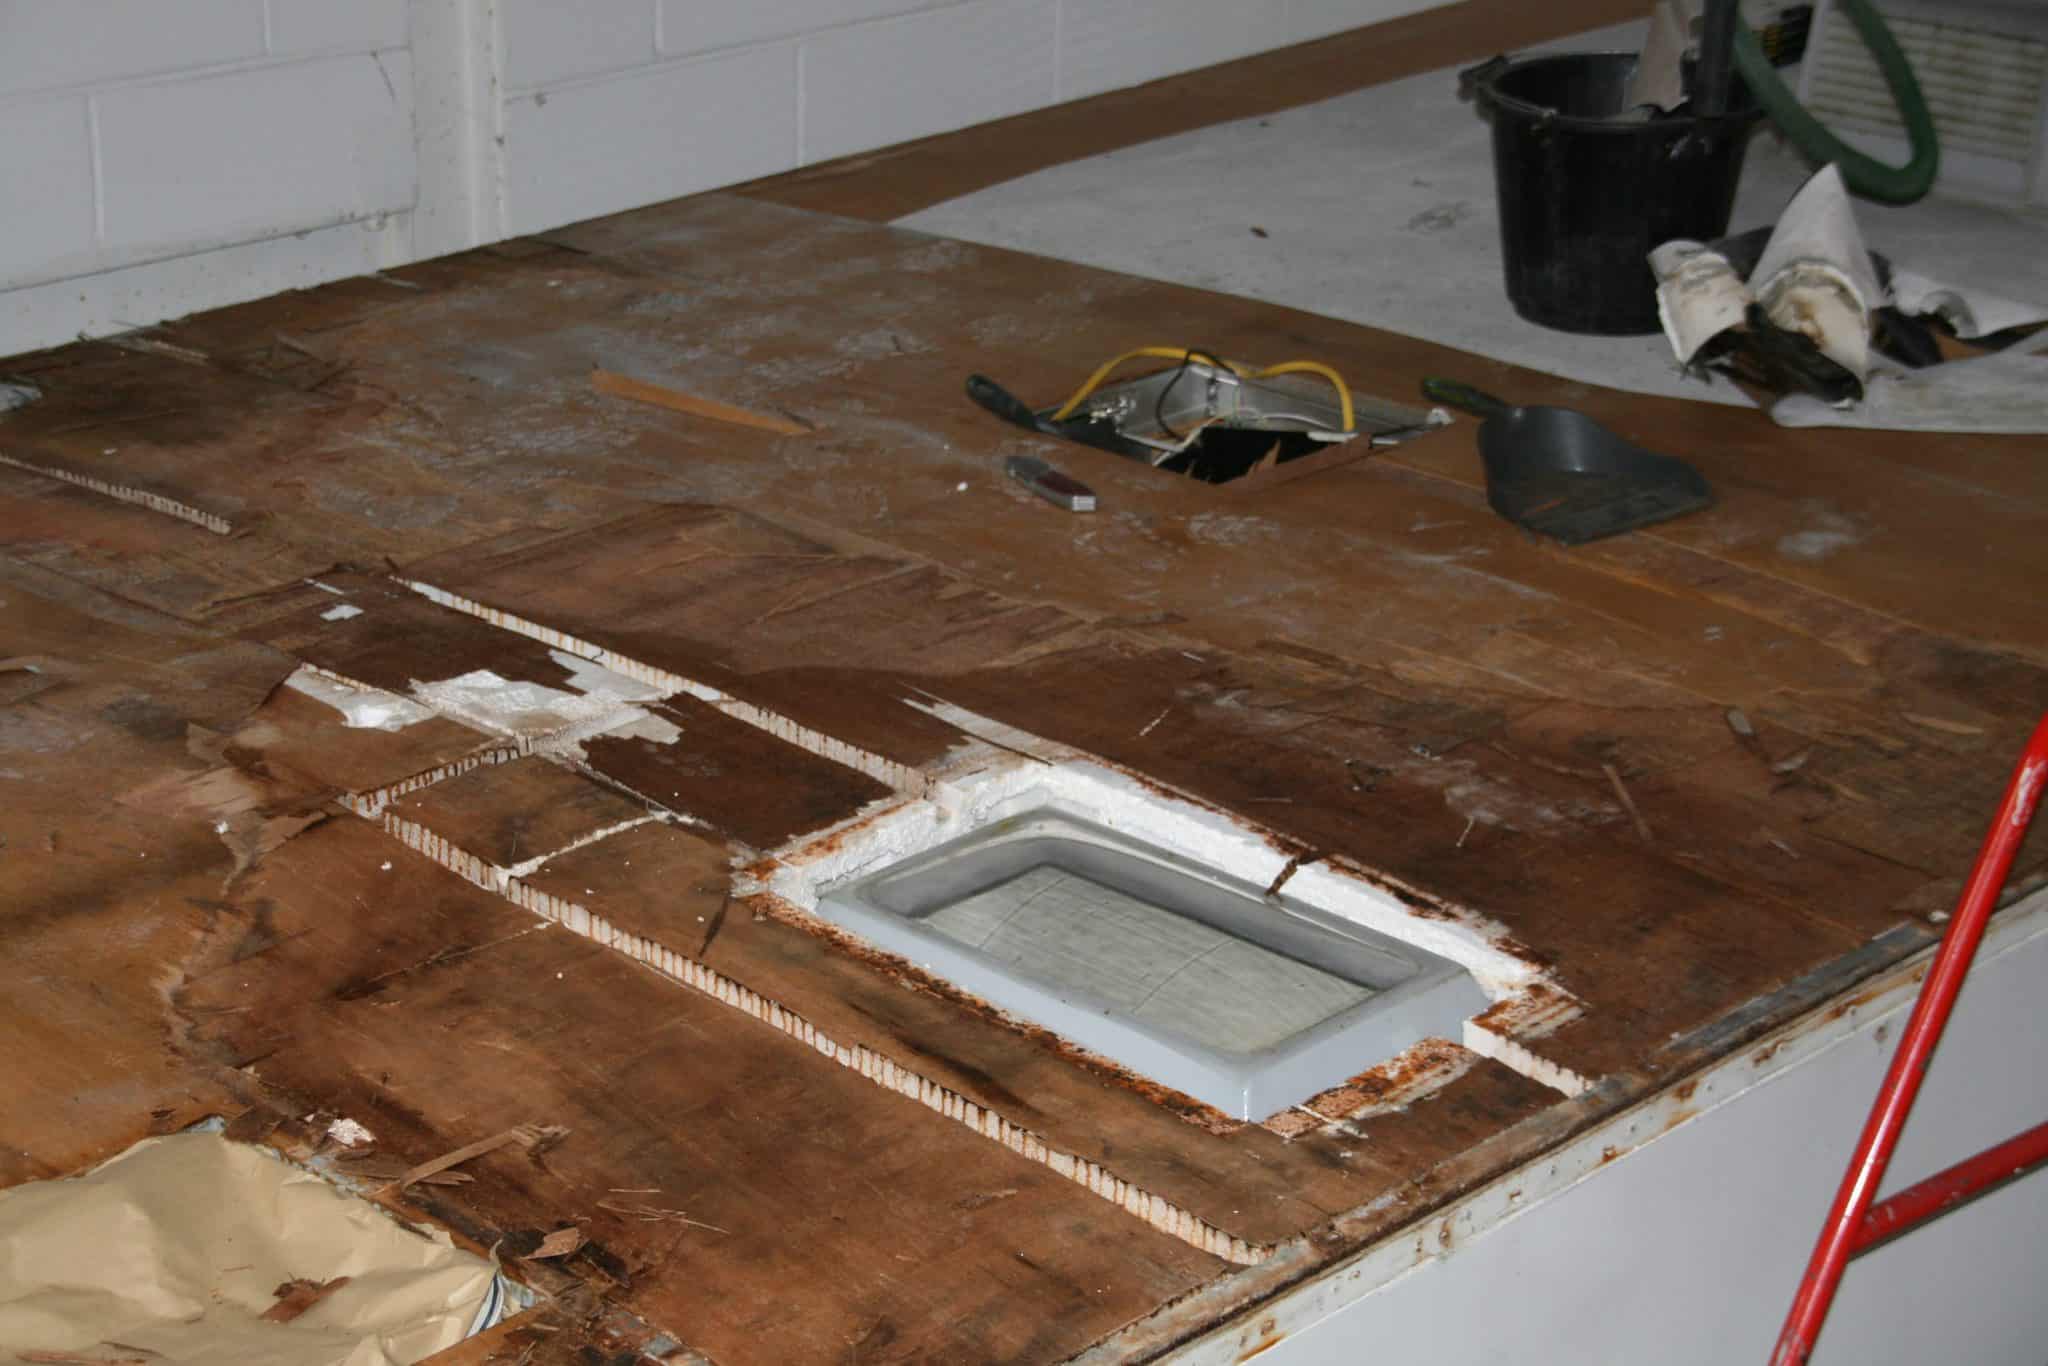
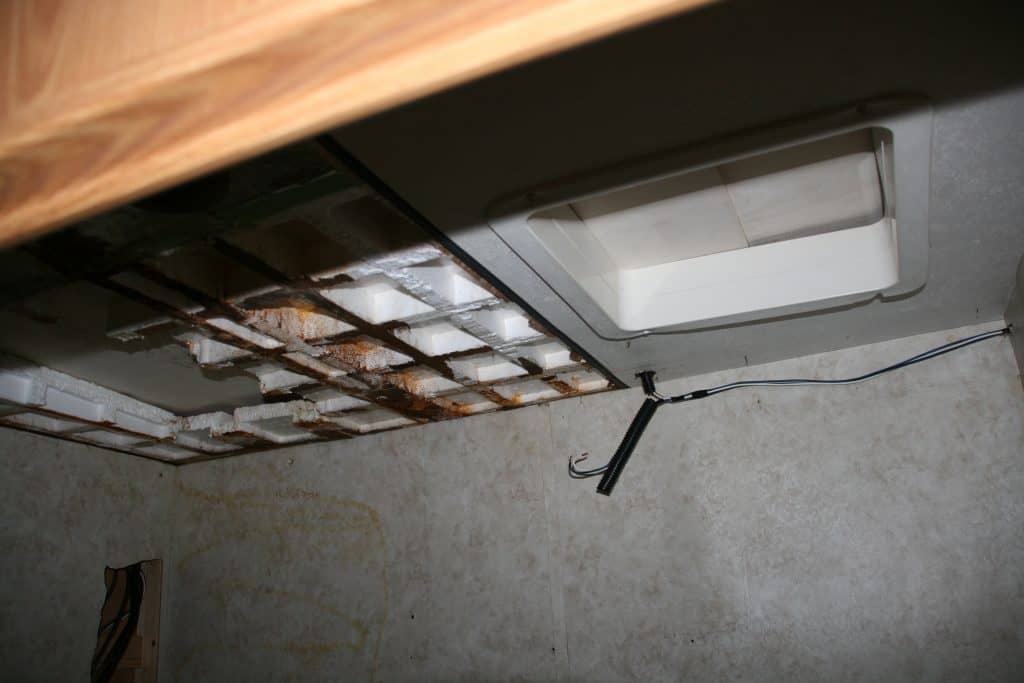
Here is a closer image view of the damage the water has done due to the roof seal failure around the bottom bathroom skylight.
You can see that the seal along the edge of the body of the roof has failed.
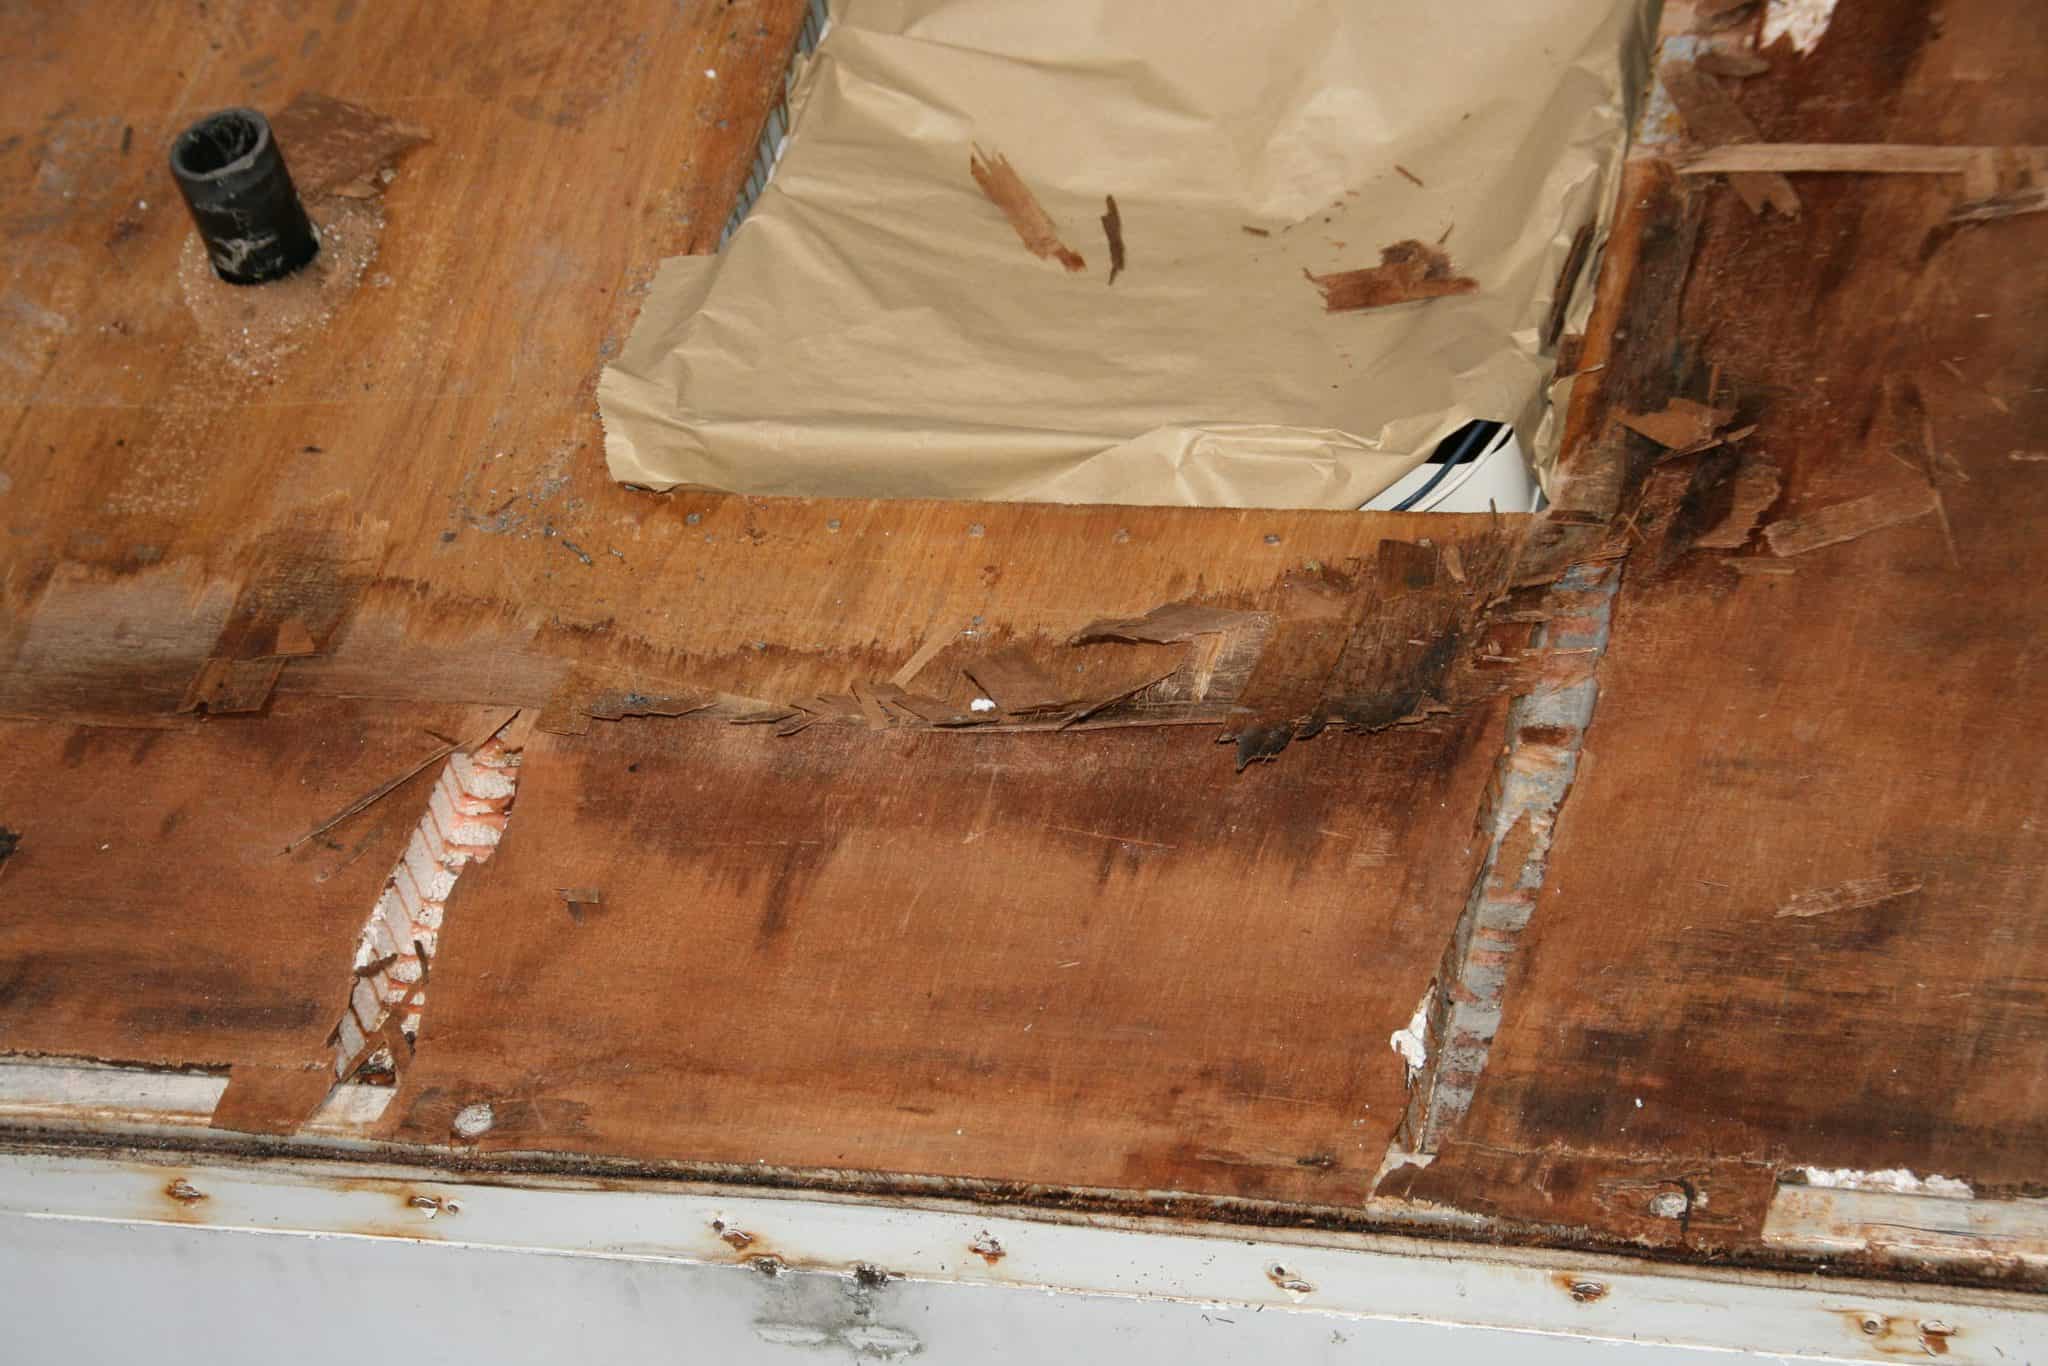
The closer you get the worse the problem is, the edge of the skylight in this image is still wet.
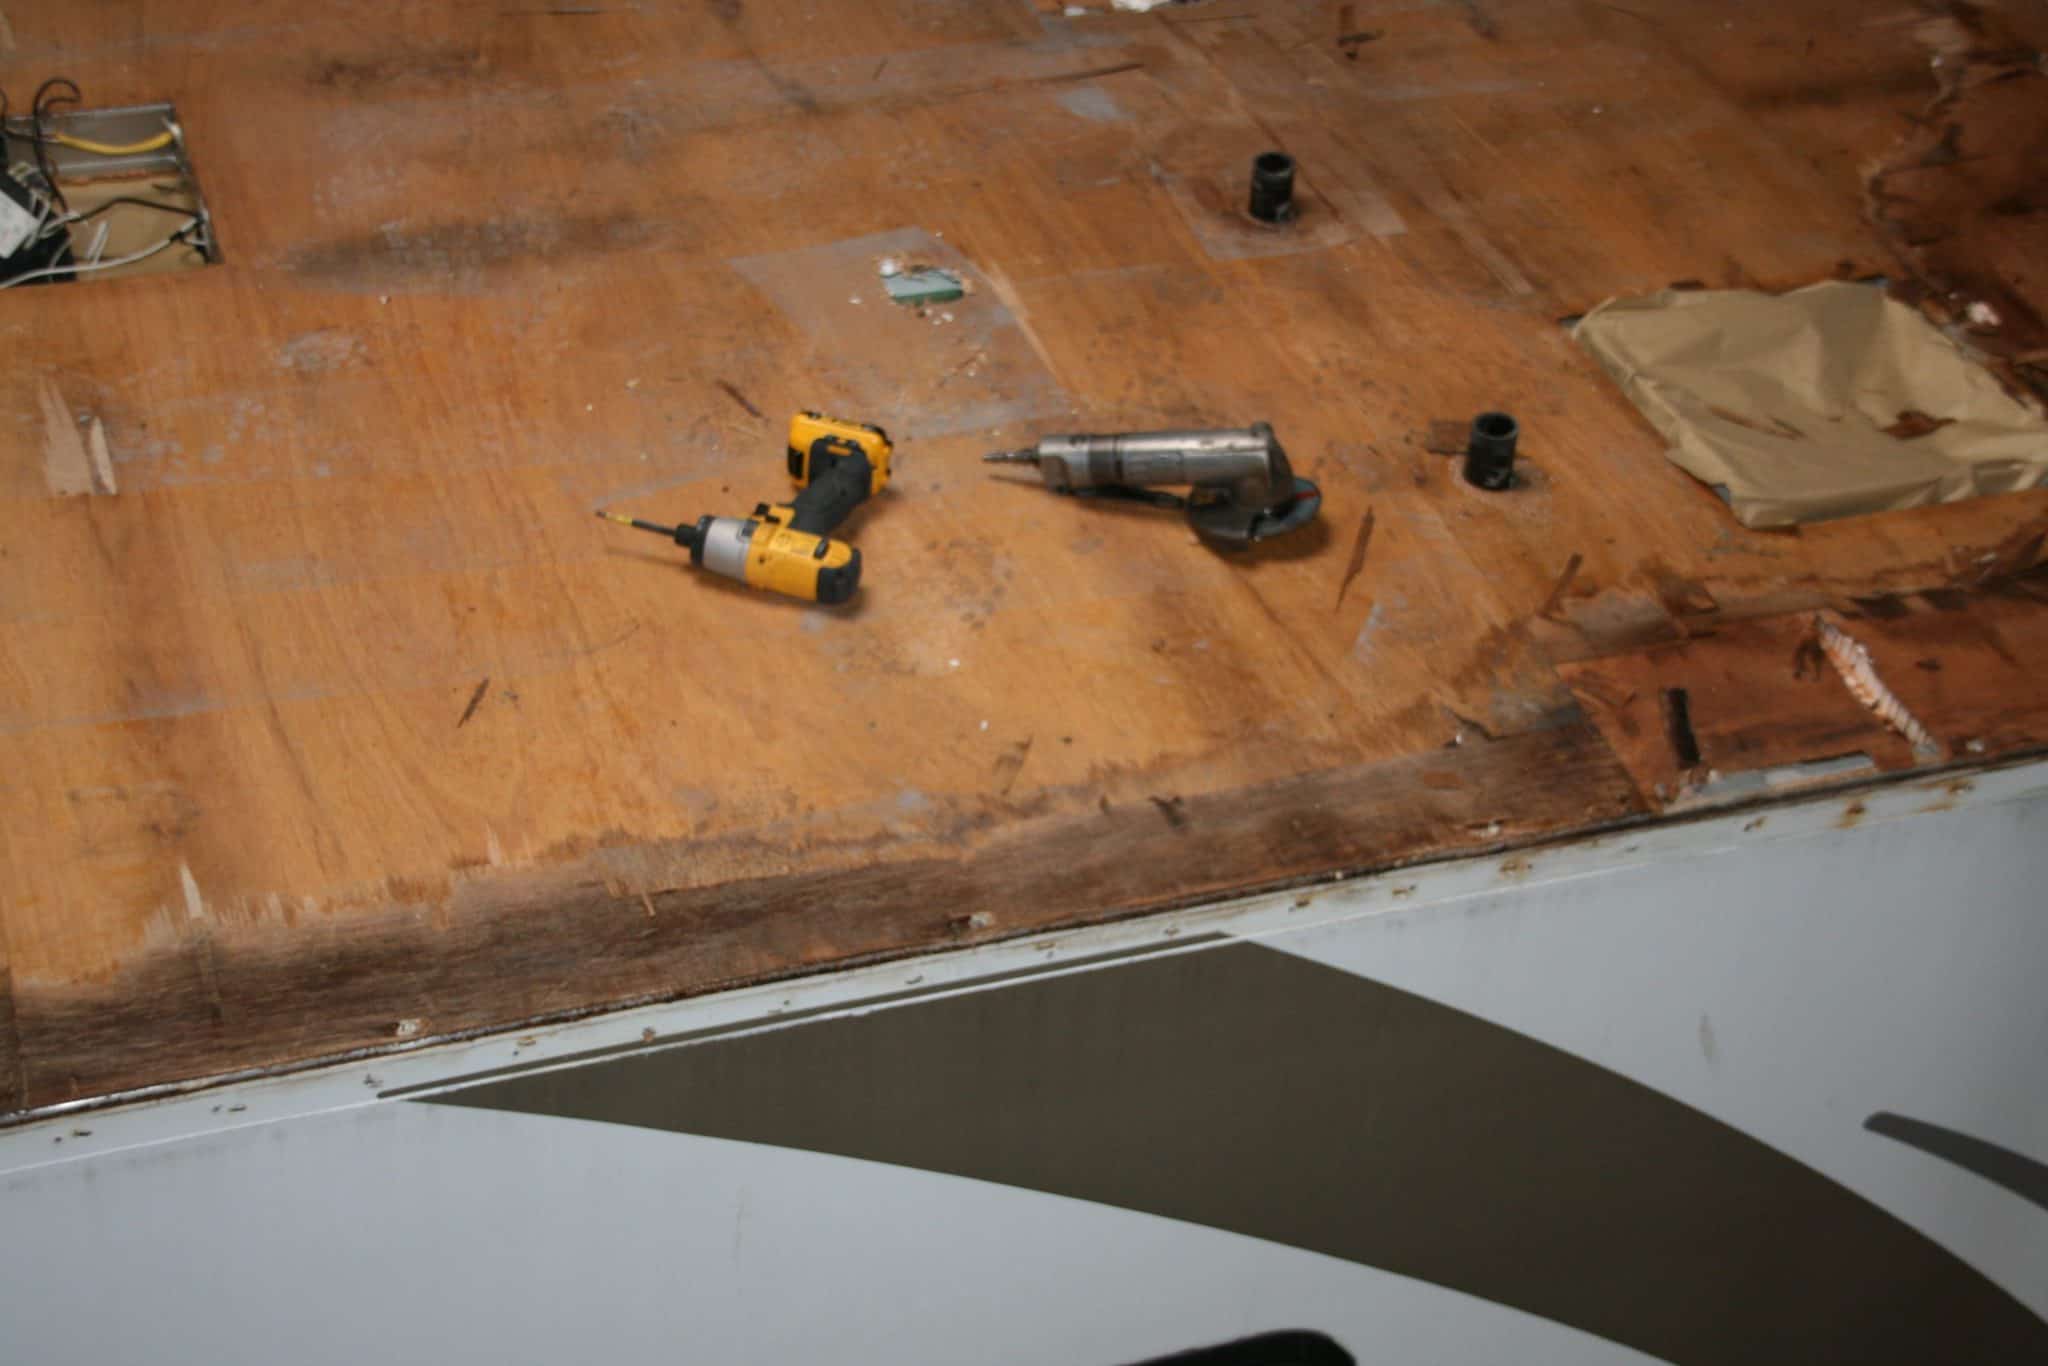
This roof problem went unnoticed by the owner. Mainly because the interior roof is only accessible once the shower had been removed. These particular problems can and were repaired. But there made worse by the time the problem was left to linger.
One problem after another
A situation that happened just recently, was when we received a call from the owner of an Airstream motorhome. According to the owner the Airstream had been with another garage for some time and quite a lot of work had already been done. All that was needed was to address a few issues and get the motorhome MOT tested.
It sounded like a nice job to do over the Christmas period “I thought. Then I was told that the engine wouldn’t start because of a missing starter motor. No problem a new starter motor was inside the vehicle.
The Airstream was delivered to us on a low loader. To be honest we left it outside for a while due to bad weather. When the weather became dry enough and was above 2°C we decided to tackle the starter issue so we could drive it into the workshop. First problem we encountered was the starter motor inside the vehicle was the wrong one!
What we then did was to grind the starter gear down to get the old starter to work, which it did. With no petrol in the tank, we rigged up a separate supply only to find that the carburettor had been messed about with. After I set-up the automatic choke and float levels we got it to running.
Once inside, we put the column lifts under the wheels and raised the vehicle. We saw that the Airstream had already had some work carried out on the brakes, it had the incorrect front brake pipes fitted and some of the steel brake pipes were missing. This meant that there wasn’t any brake fluid in the brake system which in turn had caused the new brake callipers to seize up.
This was only the start!
What we did not expect to see was the corrosion on the body outriggers at the rear of the vehicle.
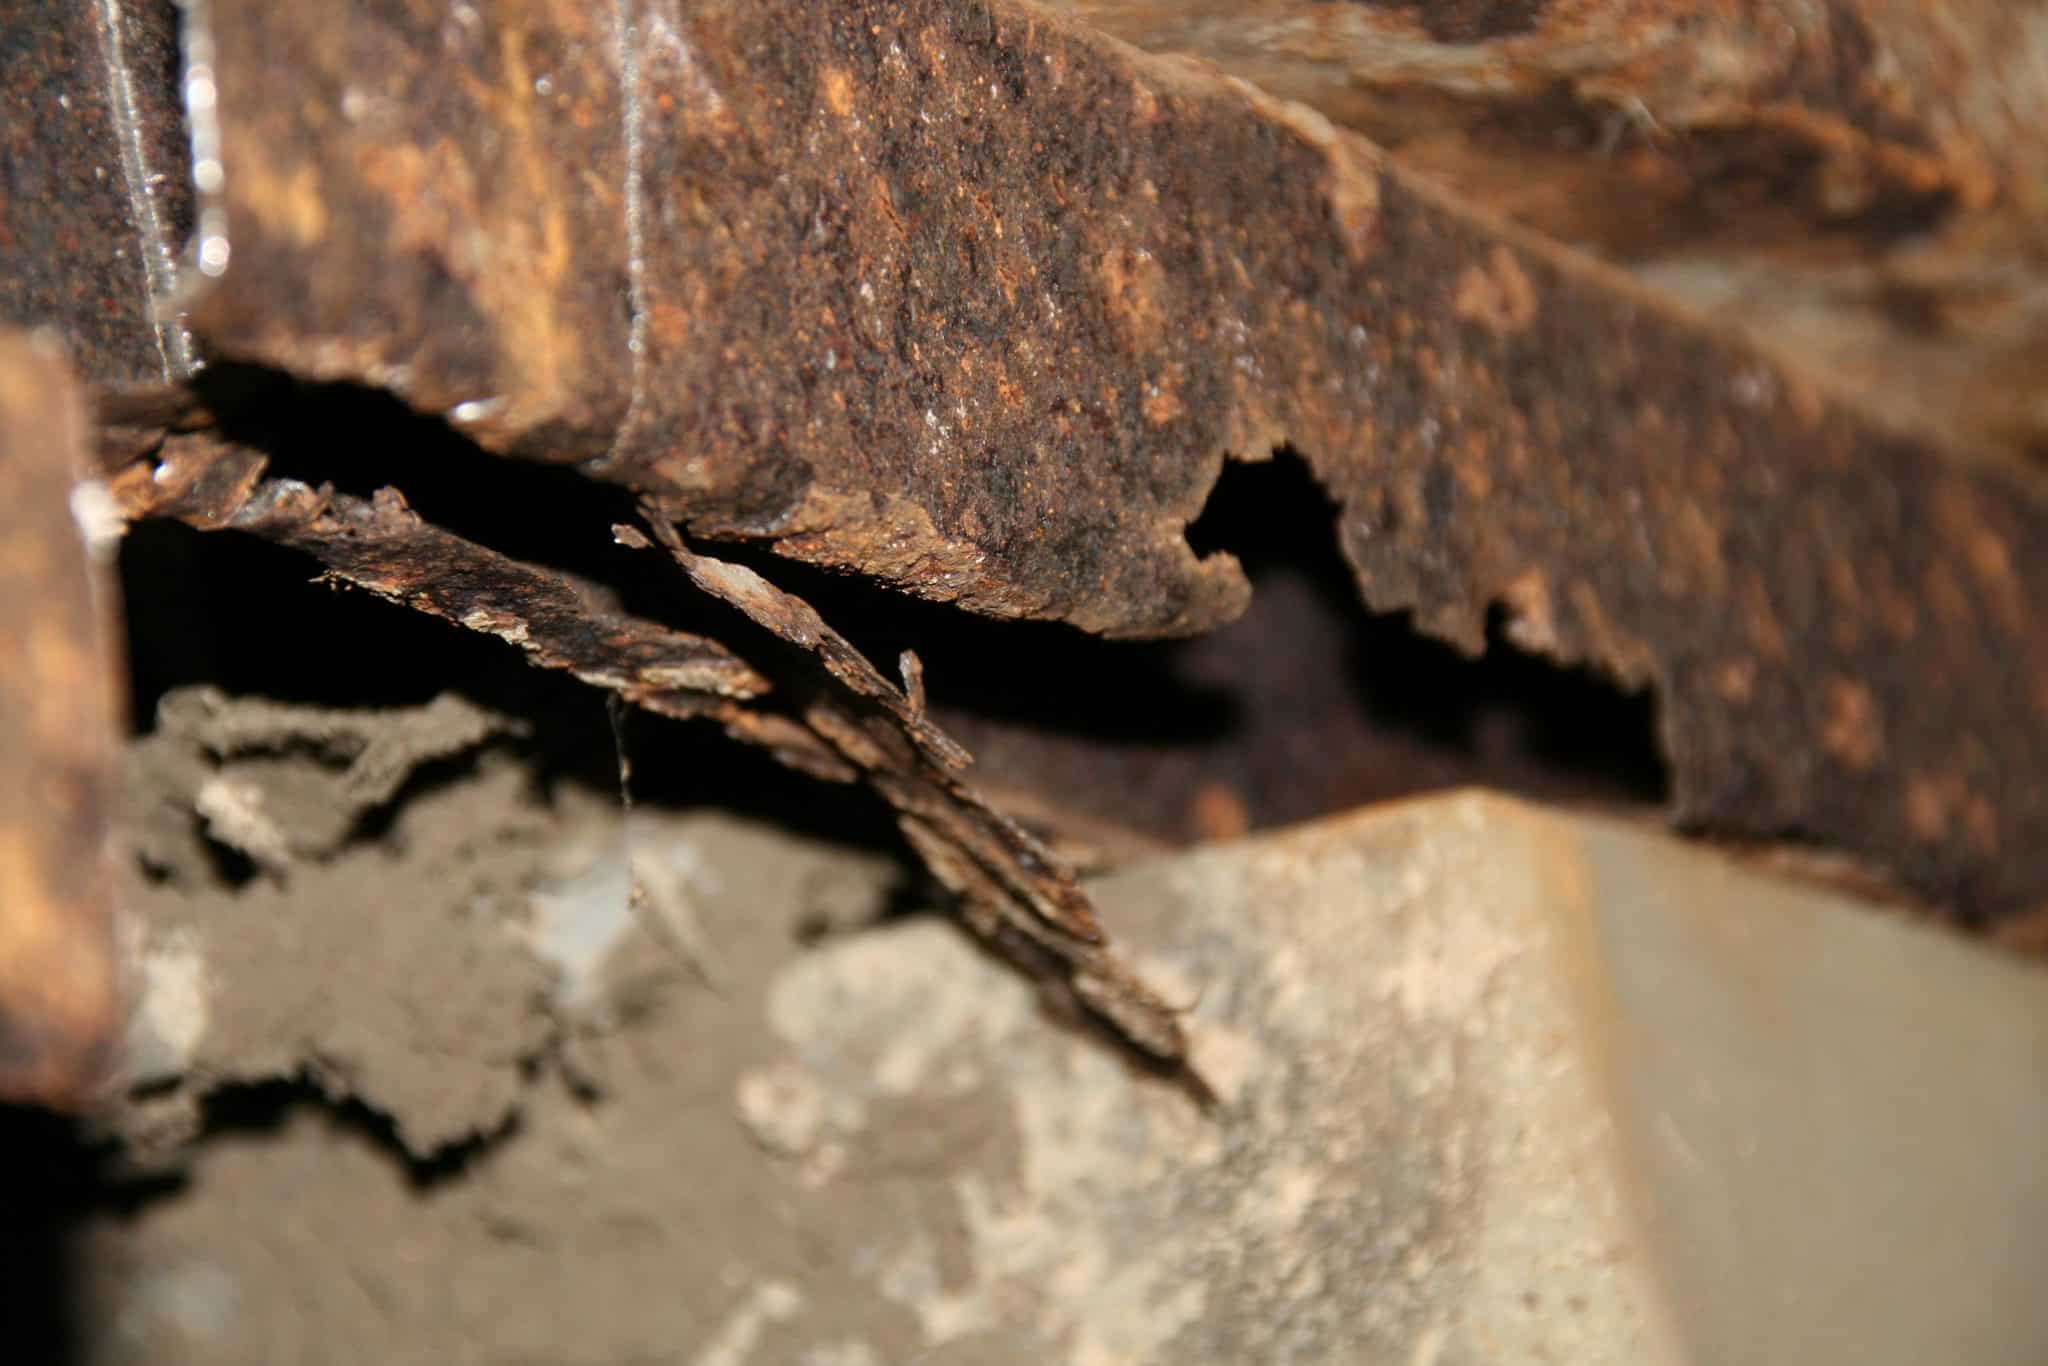
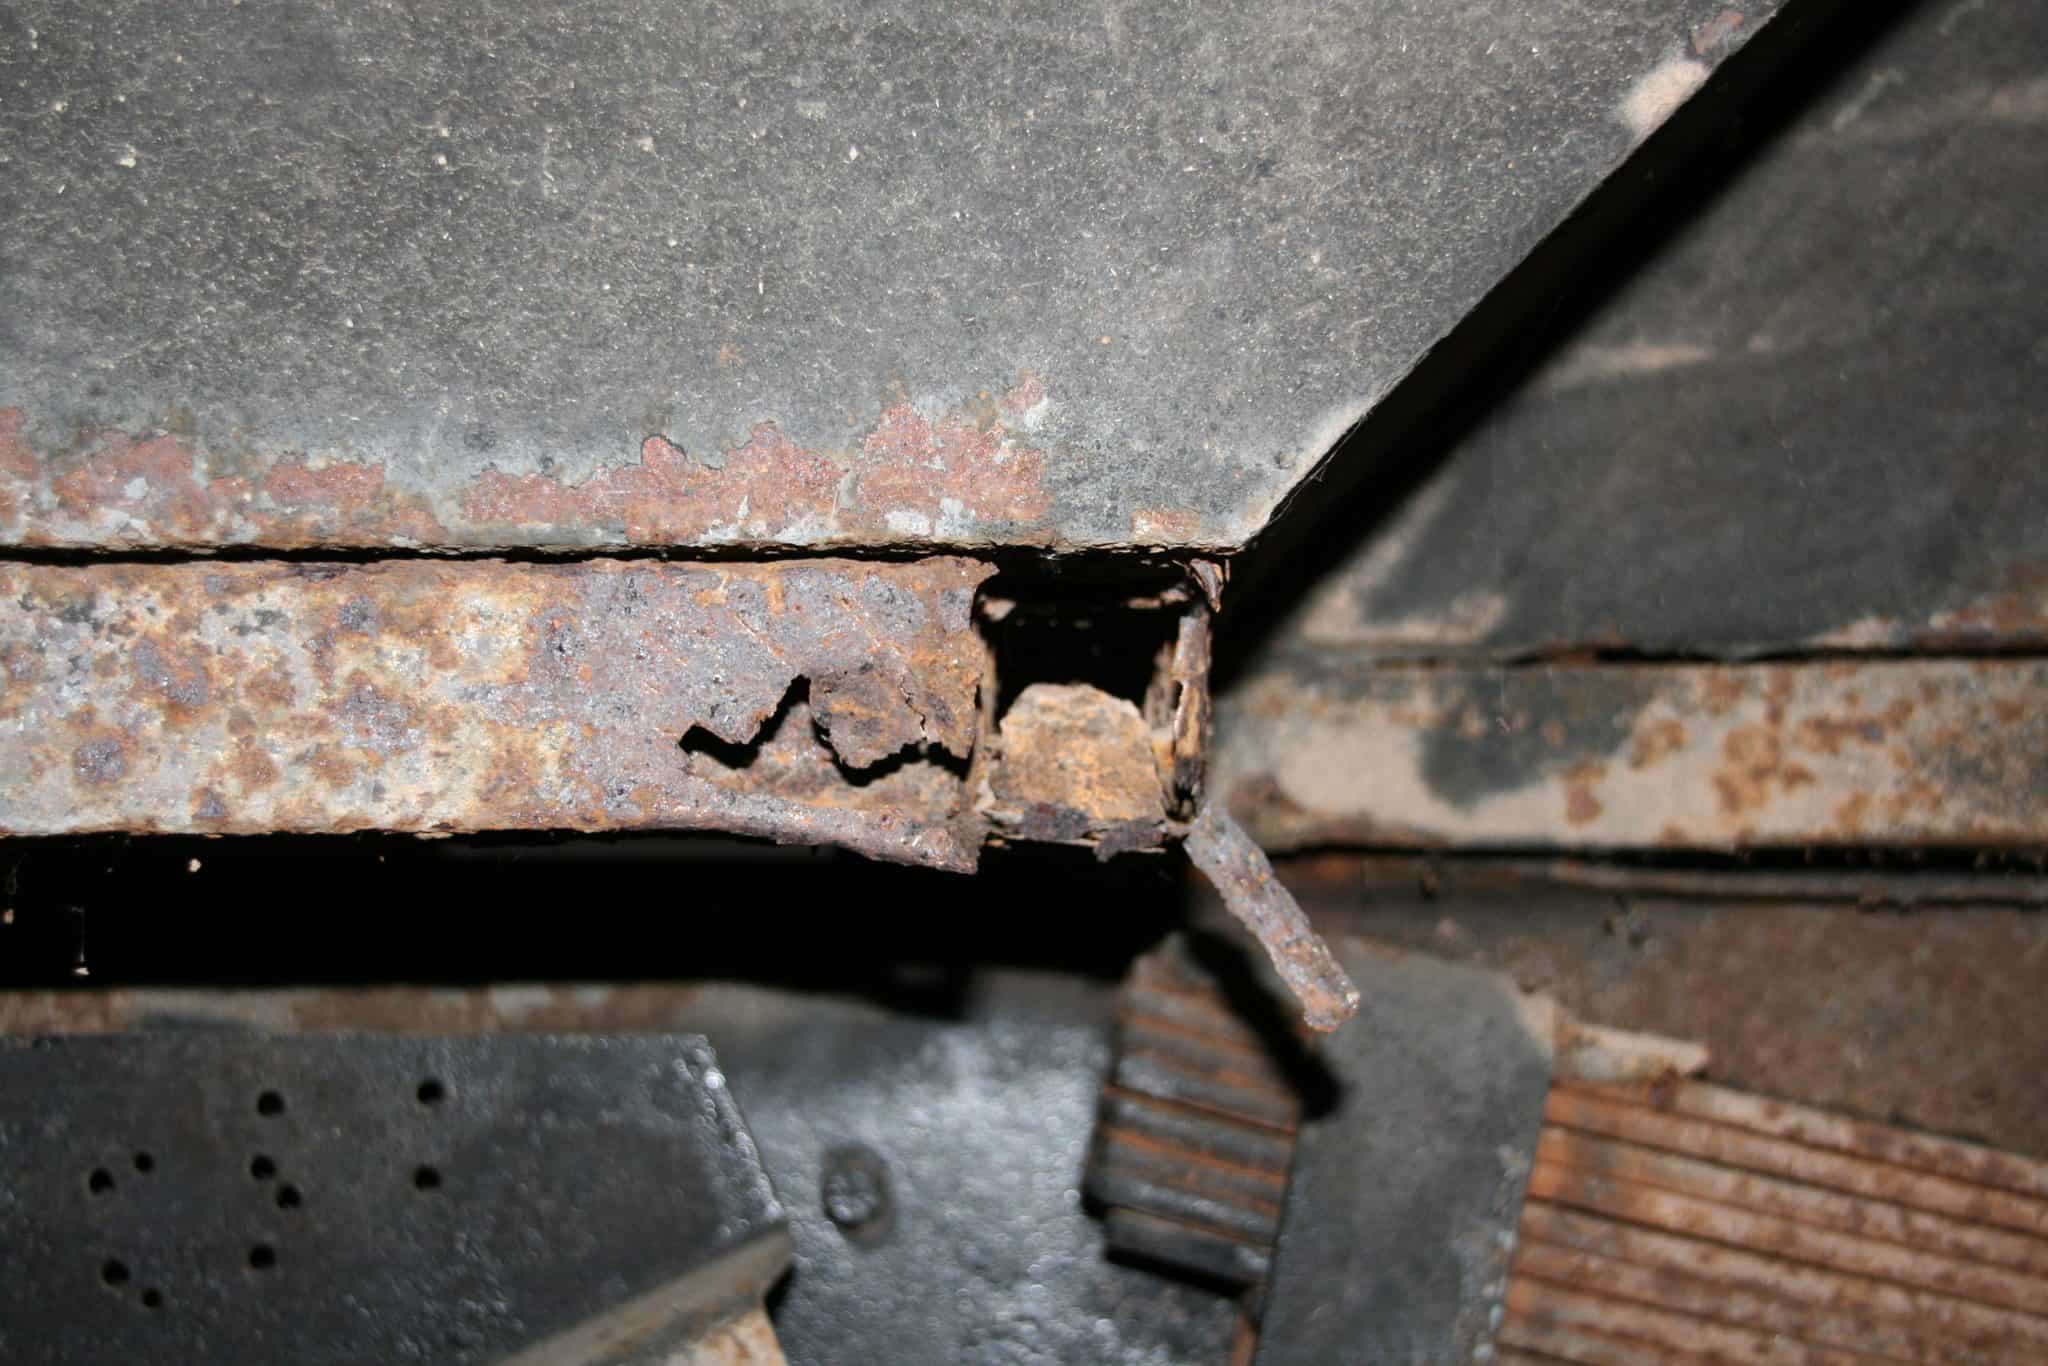

Some of the corrosion was quite bad in places and I wonder why the owner had not been informed of this before someone made the decision to carry out the work on the brake repairs.
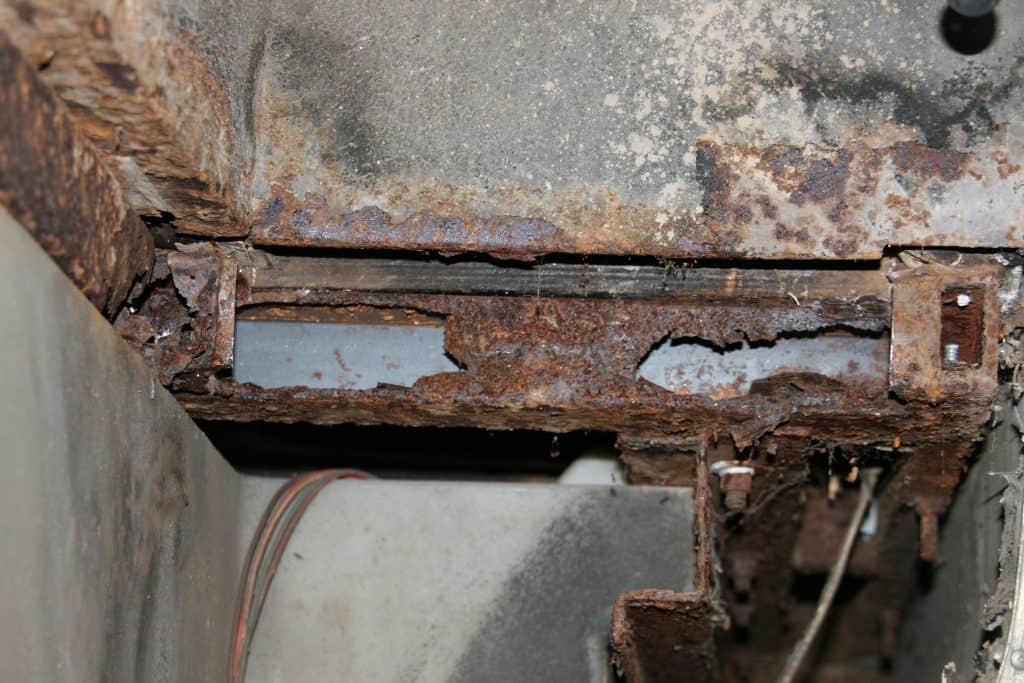
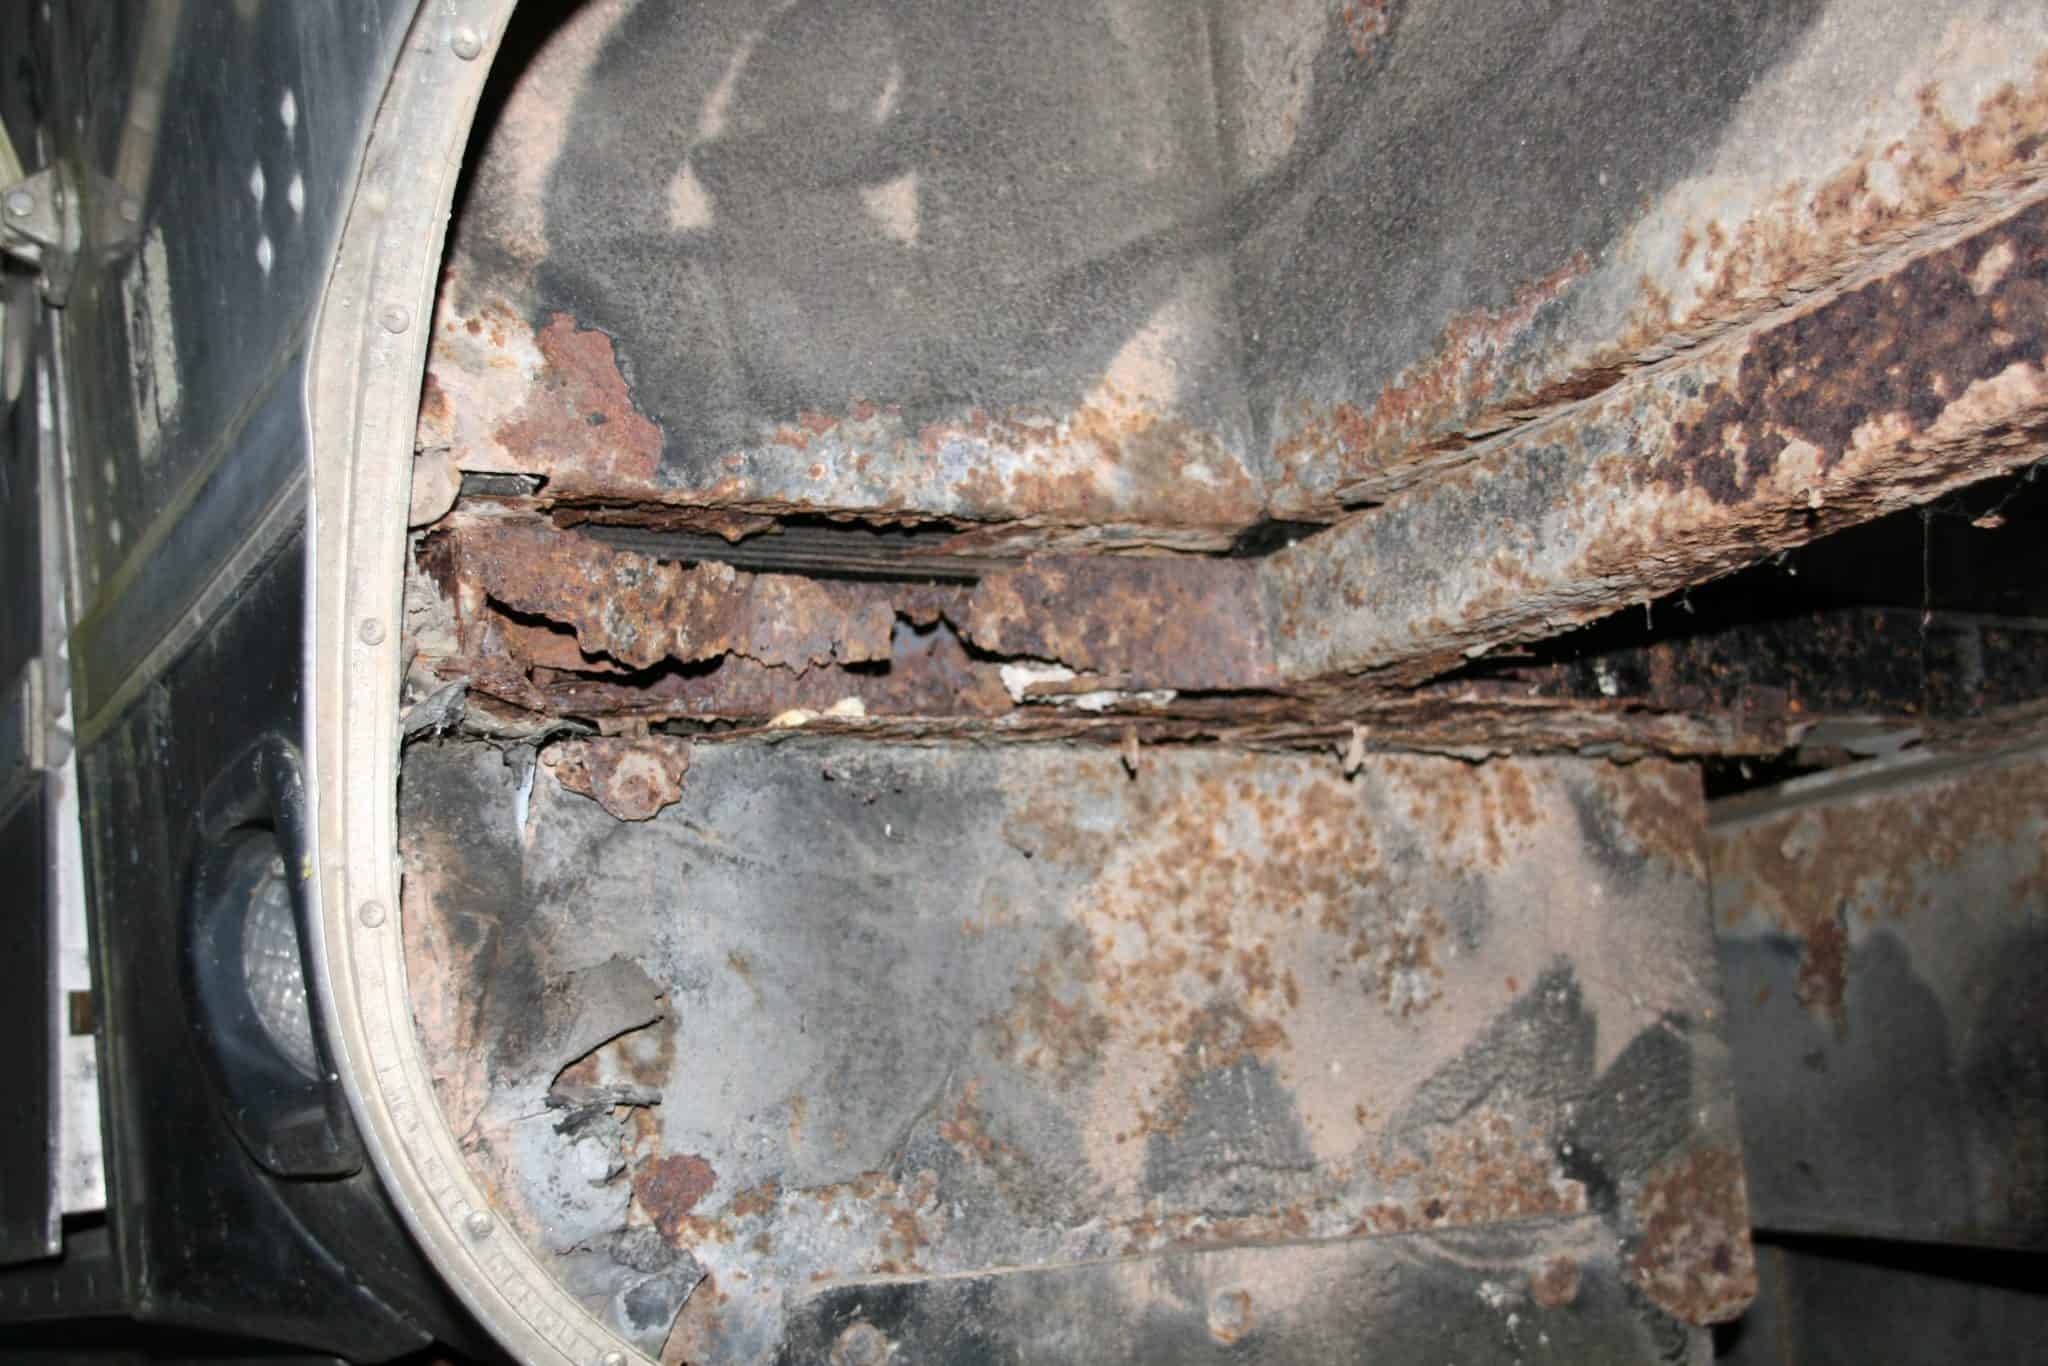
Some of the worst corrosion.
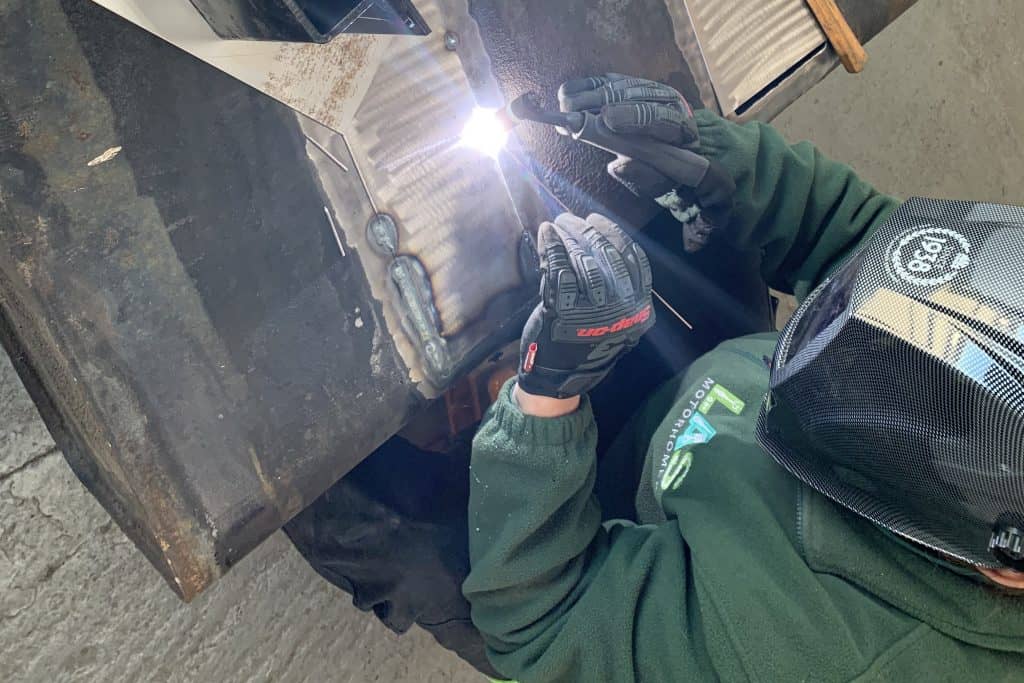
I must admit the corrosion wasn’t a massive issue to us but I don’t think the owner was expecting it. While reading this you might be questioning our motives and thinking? If the vehicle has a chassis there is no need to worry about this level of corrosion? To make it clear, the corrosion was “load bearing” and was supposed to be carrying the body weight through the construction. This is why we needed to address the problem.
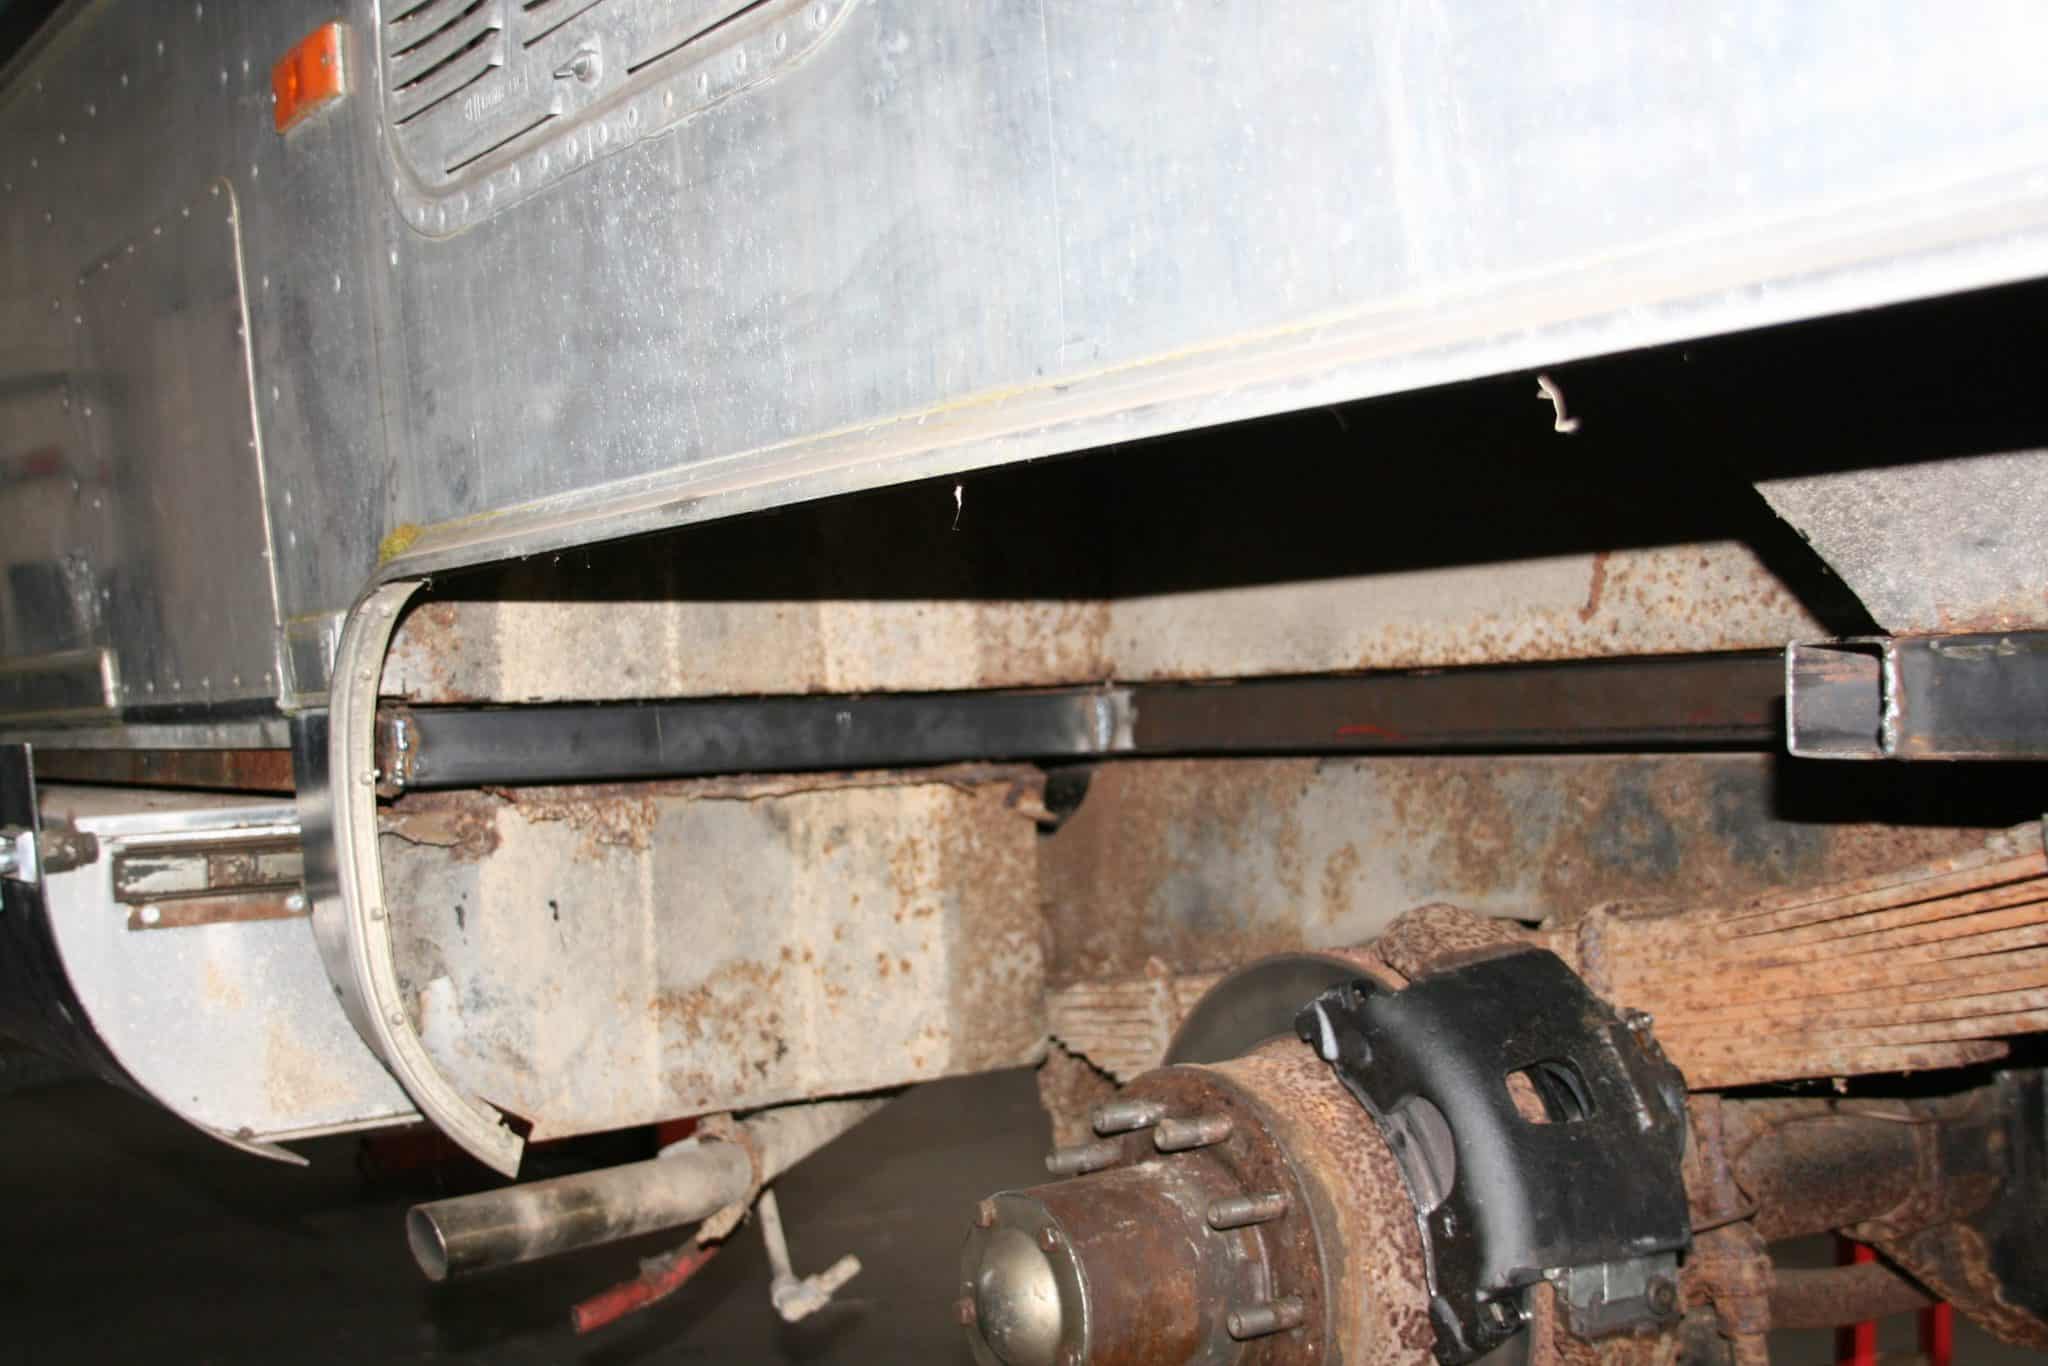
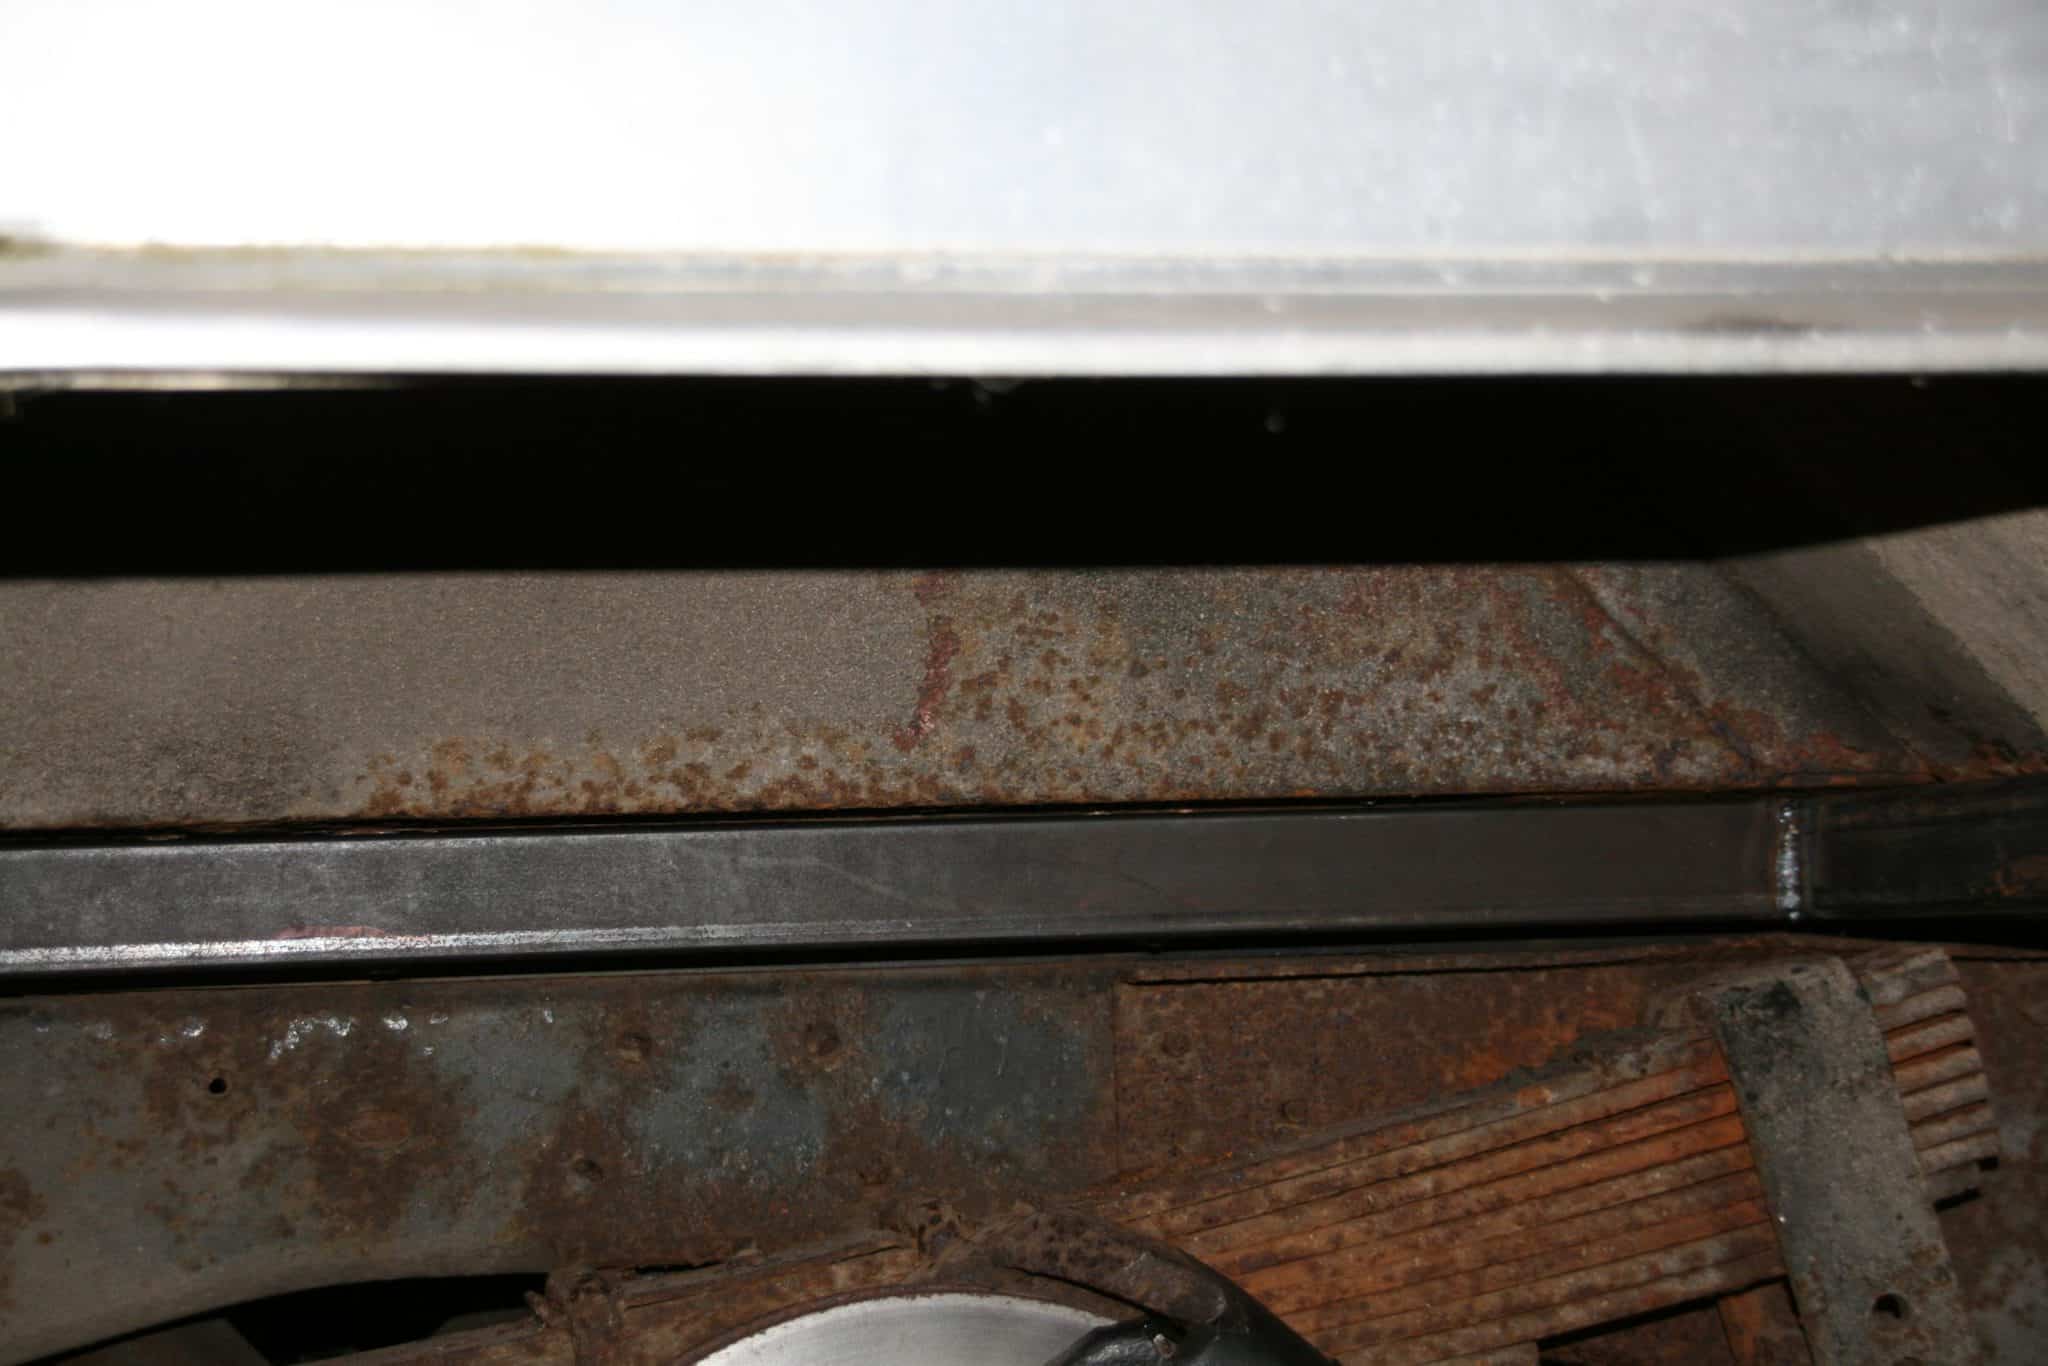

As you can see once the old material was removed and new welded in, we were back on track.
Last but not least?
One problem that we can have is when we firstly contact the owner with what we thought to be a final defect. Then contacting them again with more bad news as we go further. I suppose if you don’t understand this could sound unprofessional. This unfortunately happened on the Airstream. After contacting the owner about the chassis corrosion we then decided to get the engine running and get it to normal running temperature so we could test the exhaust emissions.
The Airstream was running off a remote petrol supply to save time going to the petrol station with containers. What we forgot was that early carburettor engines have a return petrol line coming from the mechanical left pump. This caused the excess petrol from our remote petrol container to empty into the fuel tank. At the time we thought “Well that was an oversight”.
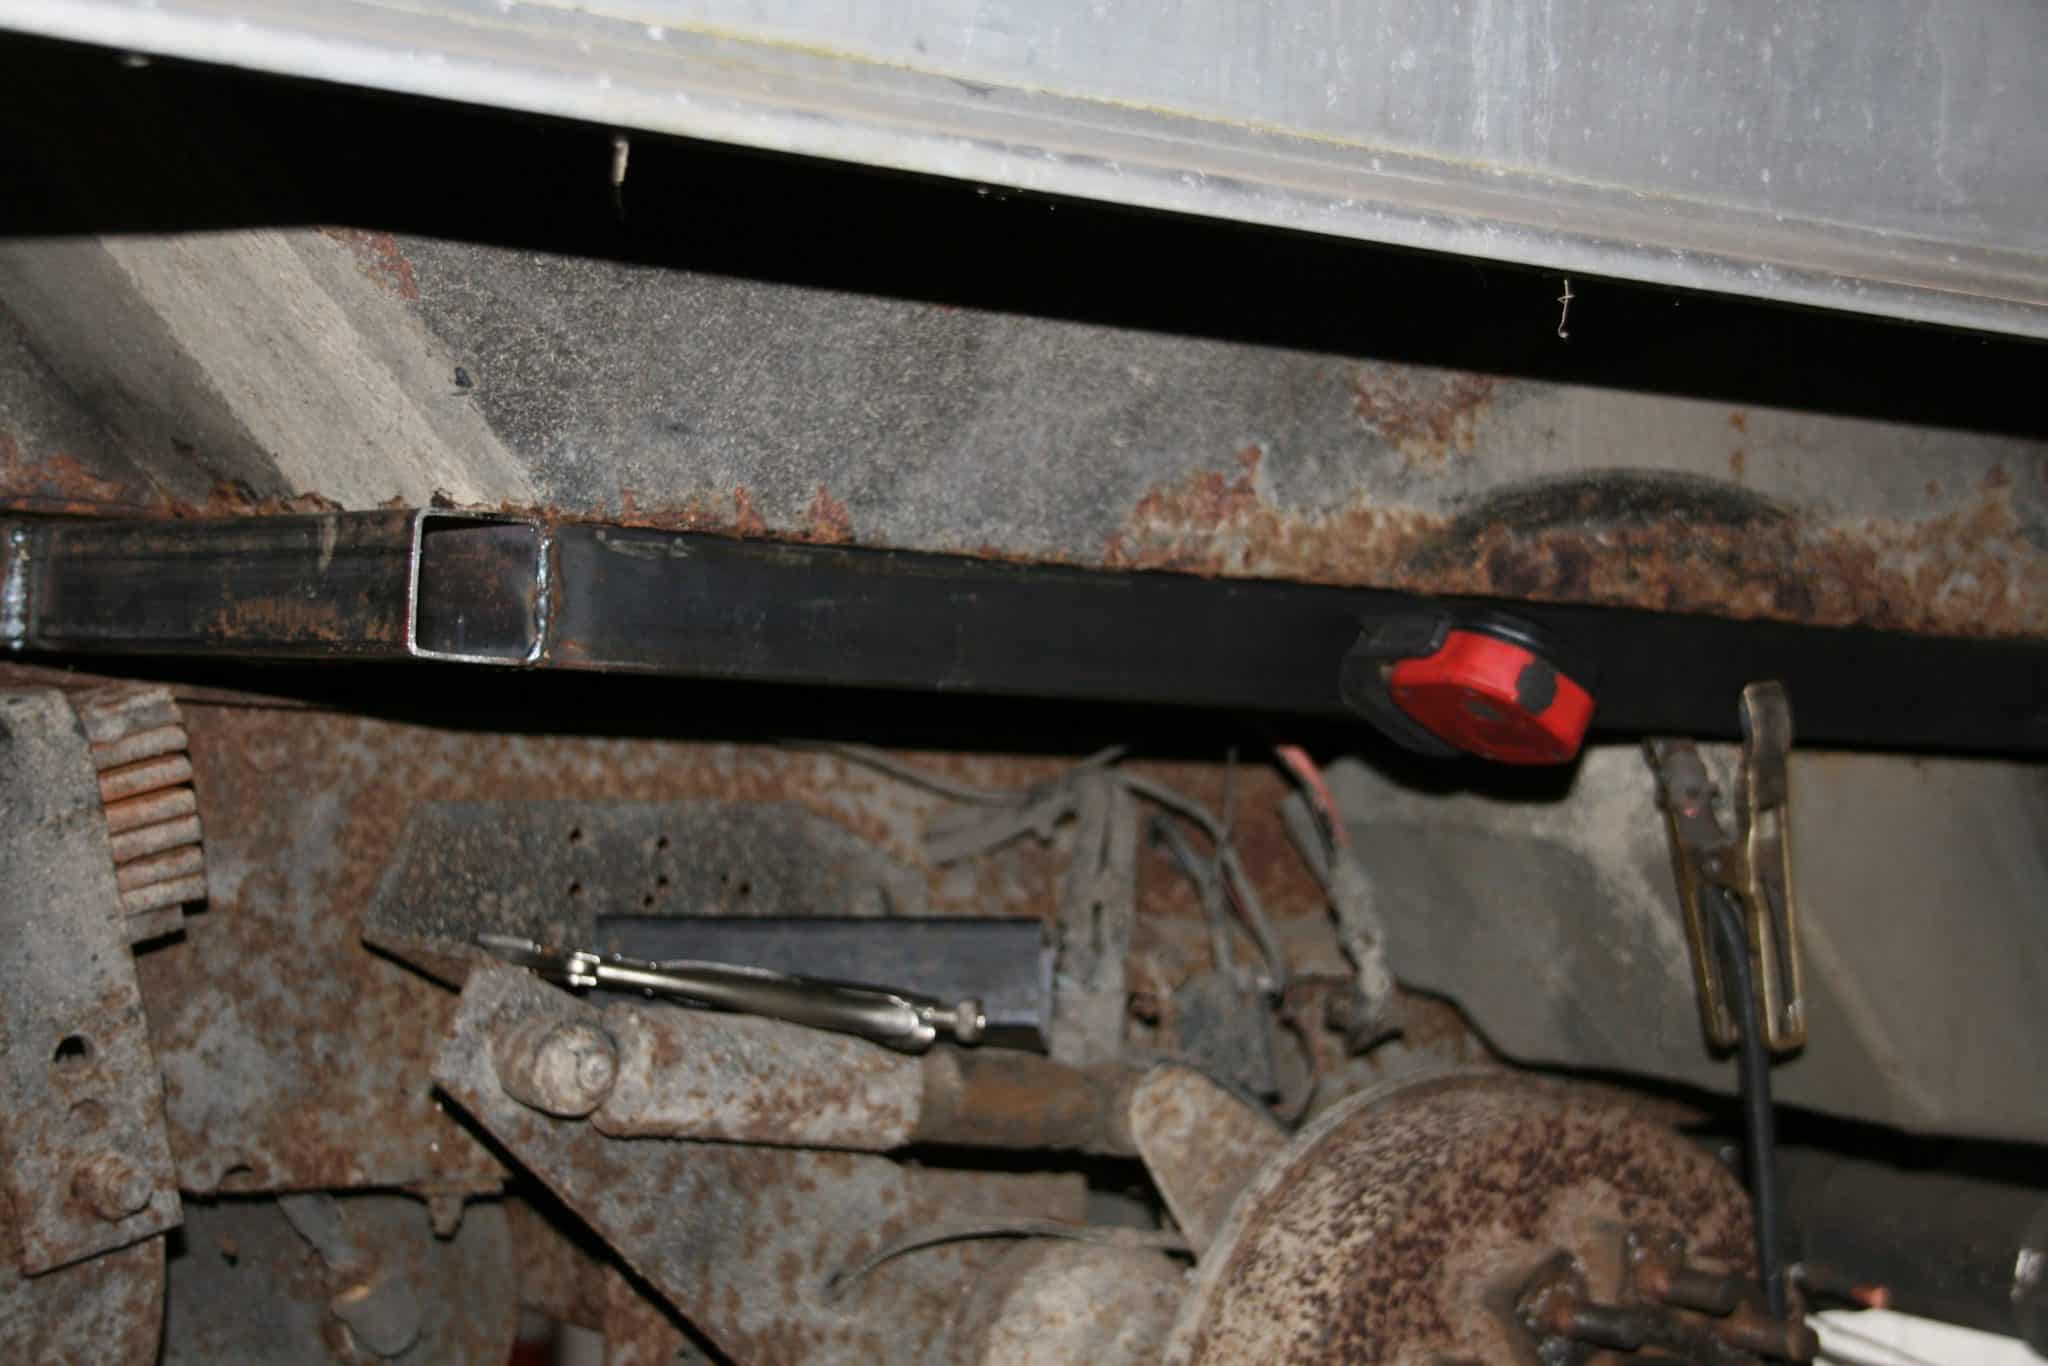
Fuel Tank Leak!
The next day we noticed some liquid on the garage floor underneath the petrol tank. You guessed it, the fuel tank had a leak which was something else the owner knew nothing about. With the owner notified, we had another task in front of us.
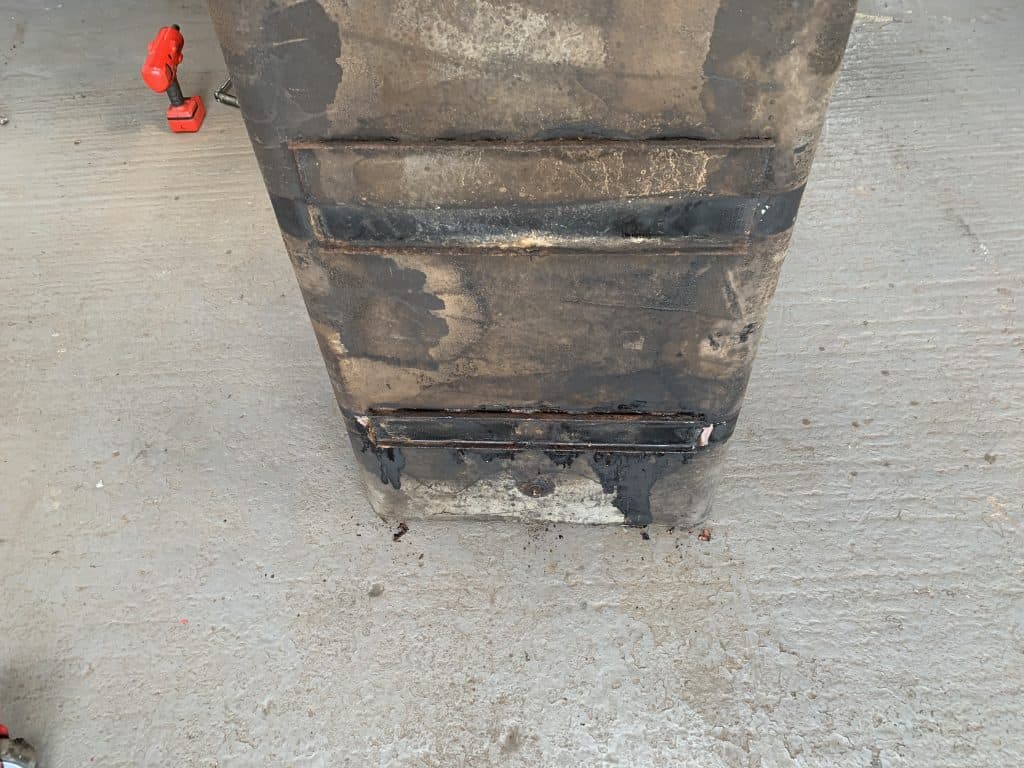
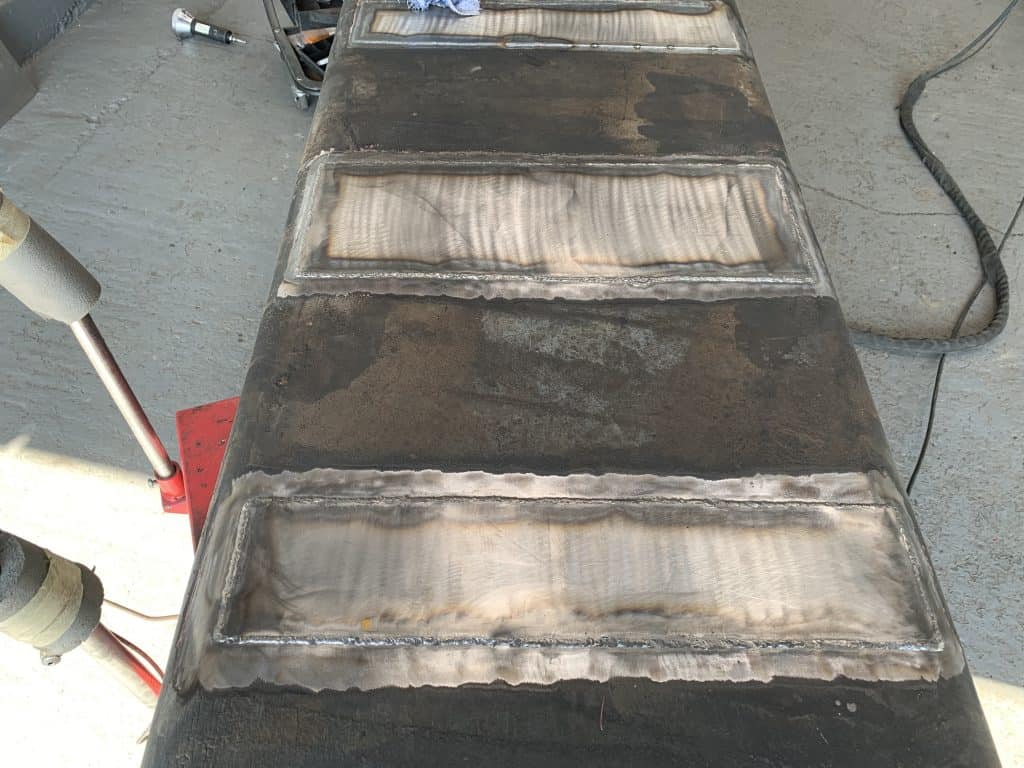
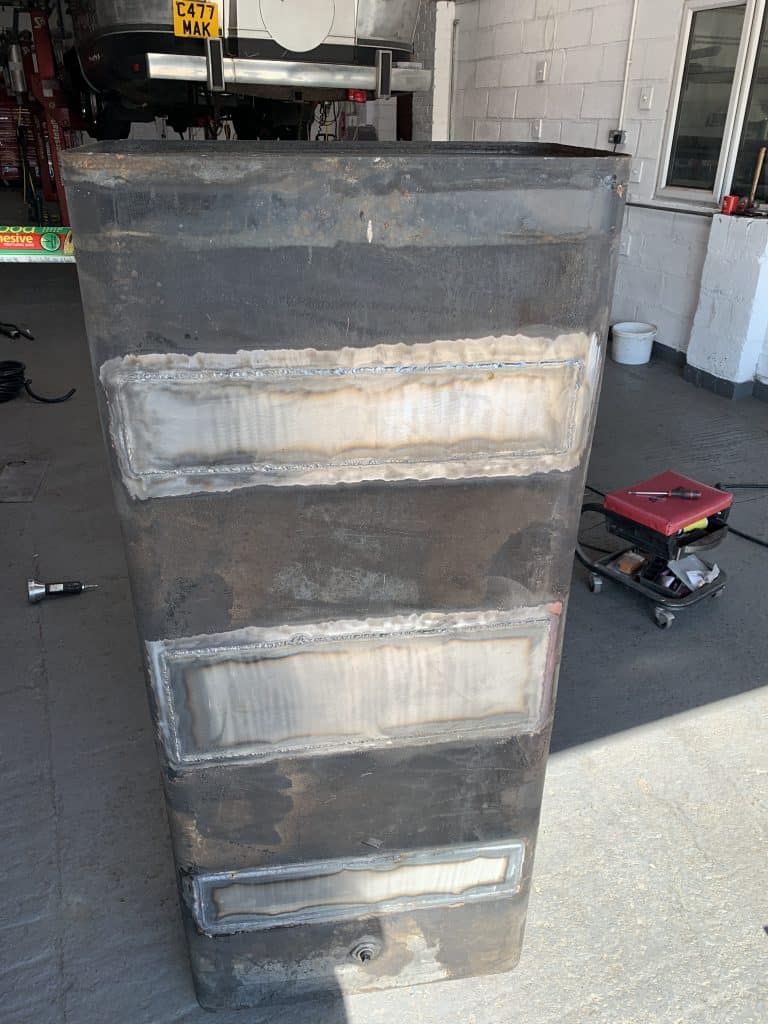
Here you can see the fuel leak which was caused by the plates welded to the tank. These plates keep the petrol retaining straps in line and are intended to spread the load of a fuel tank. The corrosion under the plates was that bad that we had to cut the old material out.

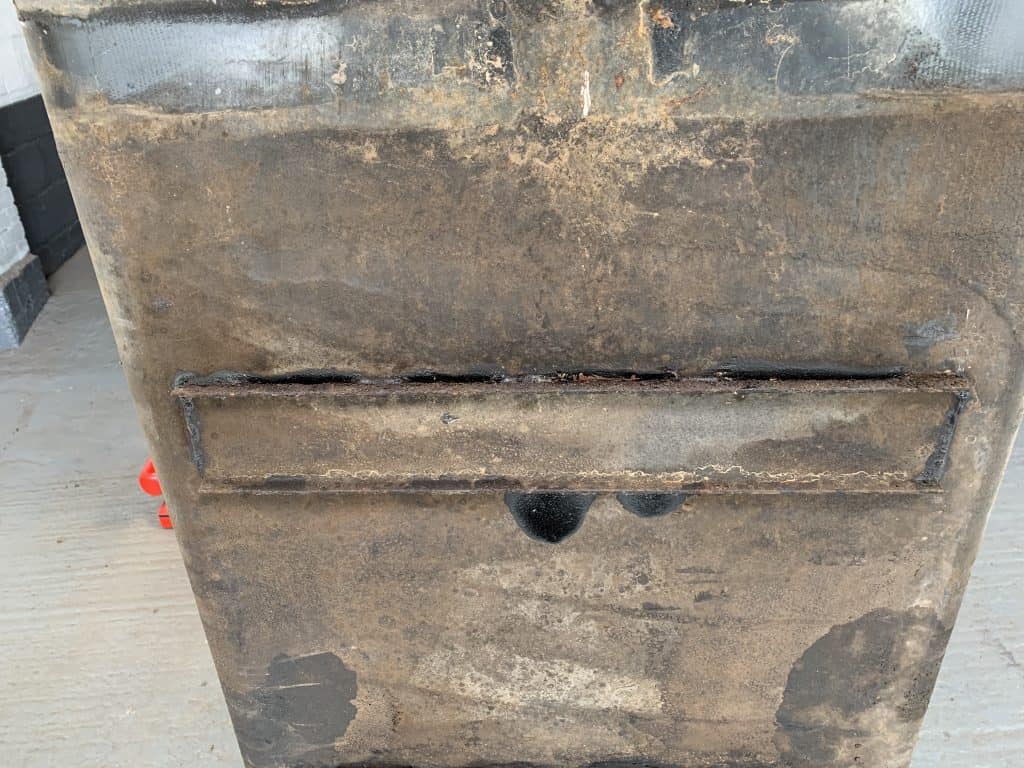
Once the material had been removed some new steel plates were cut to size and then welded into place.
Once the welding had been completed the tank was pressure tested for any leaks and then was painted.
As you can imagine we never really know what we are about to find. In the Airstream’s case the list keeps creeping up.
The rear tag axle brake magnets were body corroded. When the brake drum was removed we found the wires were not attached to the magnets.